
Quiver Design WorksRide maps

New Ride maps · Beta

Your ride, as a 3D-printed map

Pick a ride from the adventure map or upload a GPX. The designer builds the terrain around it, sets the trail in, and gives you a file for a Bambu printer with an AMS.

Free to design and download. A GPX you upload stays in your browser.
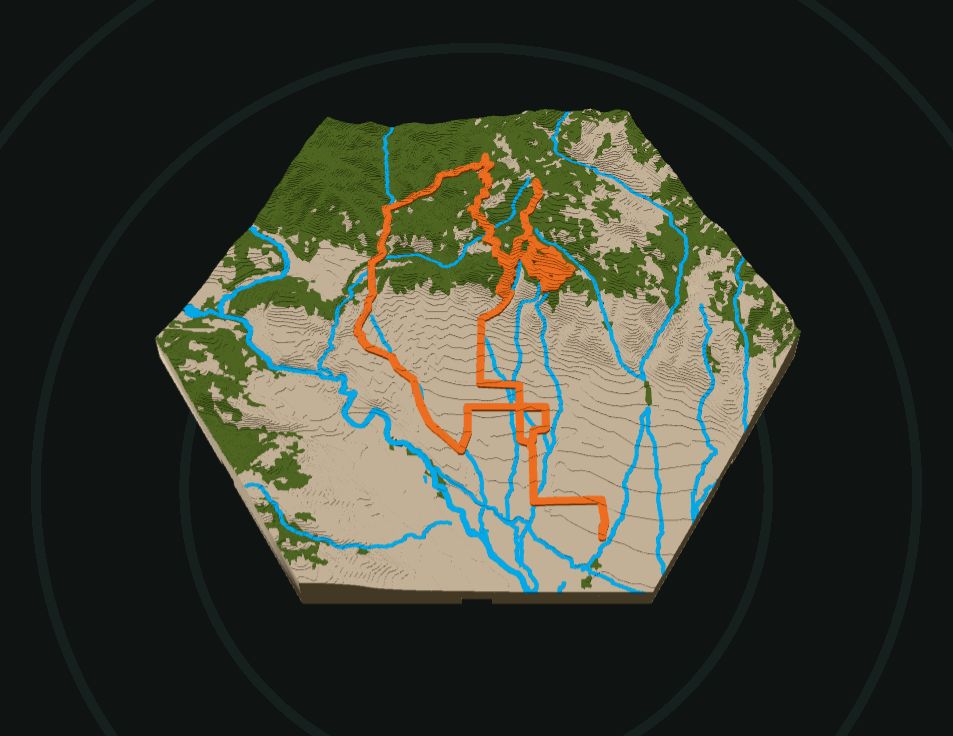
A hexagon ride map in 3D: tan contour terrain, green forest, blue rivers and an orange trail raised along its route

01 — How it works

Five steps to a map

Full guide →
  1. Pick a rideFrom the adventure map's list, or upload a GPX. Add more rides for a trip over several days.
  2. Shape itOne map (2.5 to 6 in across), or a honeycomb of small tiles along the trail.
  3. Colour itUp to 4 filaments: terrain, trail, trees, water, high ground or snow.
  4. Add extrasWall joints, a keyhole, a compass rose, the ride's name and numbers.
  5. Download and printA 3MF with a plate per print, ready for Bambu Studio.

02 — Layouts

One map, or a honeycomb

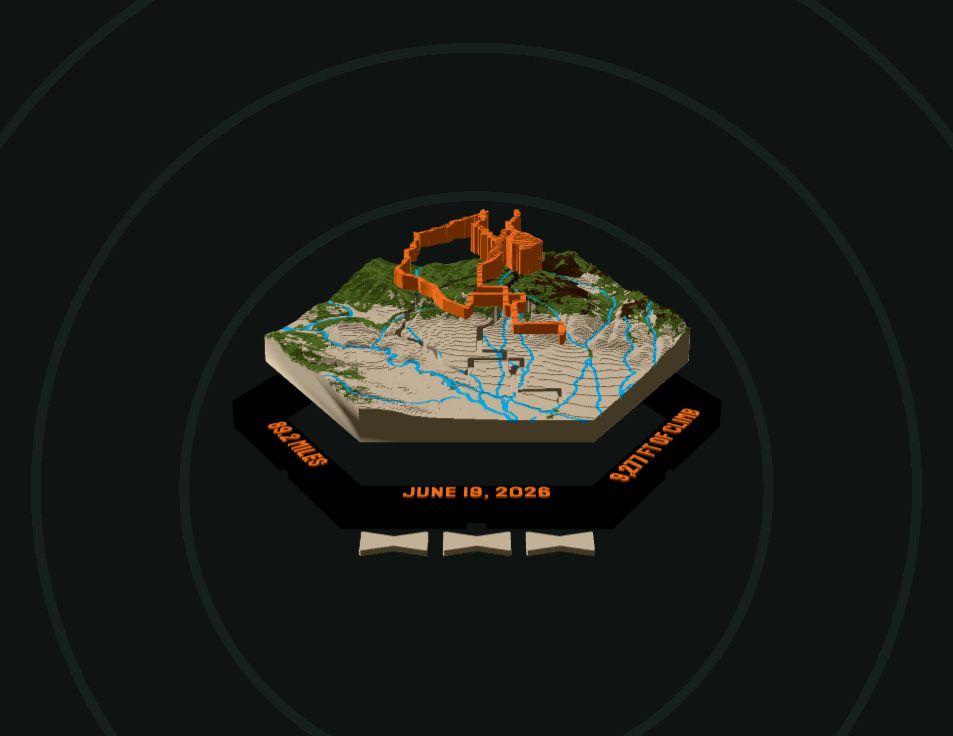
A hexagon map pulled apart: the frame with the date and miles raised on it, the map, the trail as its own orange piece above, and three bowtie keys

One map

The whole ride on one print: a hexagon, circle or square. Add a frame with the ride's name, date, miles and climb, or print the trail as its own piece.
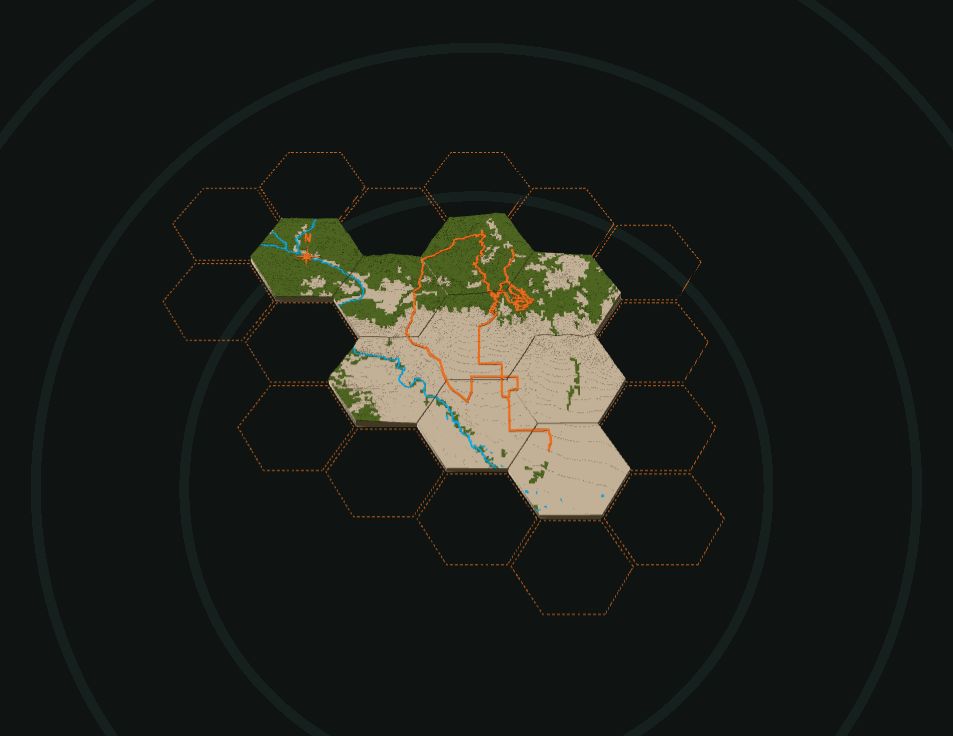
A honeycomb of hexagon tiles along a ride, with dashed outlines where more tiles can go

Honeycomb

The ride over small hex tiles (2 to 6 in), each its own print, locked together with bowtie keys. Long rides fit on a wall, not a print bed.

03 — The map

What goes on it

Terrain
Real elevation, in contour steps (100 ft by default) or smooth, the hills raised so they read
Trail
Set into the terrain in its own colour, standing a little proud, or printed as its own piece that presses in
Trees and water
Forest, rivers, creeks and lakes from open map data, each in a colour of its own
Colours by height
High ground and a snowline in their own colours
Border
A frame with the ride info raised on it, or a plain shell the map nests into
Compass rose
Points north, placed clear of the trail or on a tile of its own
Wall joints
Bowtie keys lock maps or tiles side by side
The back
A keyhole for hanging and the ride info engraved (on tiles: each tile's position)

04 — Printing

How it prints

  1. Open the 3MFIn Bambu Studio or OrcaSlicer. Each print has its own plate, named: the map or each tile, the trail piece, the frame, the keys.
  2. Load the filamentsThe 3MF numbers them; match the AMS slots. The designer shows the grams, colour changes and purge first.
  3. PrintPLA at 0.2 mm layers, flat side down. Tiles and pieces print one plate at a time.
  4. Put it togetherPress the trail piece in, drop the map into its frame, tap the bowtie keys into the pockets on the back.

Ready to map a ride?

It takes a few minutes. Your design saves in this browser as you go.

Questions: matt@quiverdesignworks.net.

Credits

Thanks

Inspired by
This tool was inspired by TrailPrint3D.
Terrain
AWS Terrain Tiles (USGS 3DEP, SRTM and others)
Trees
ESA WorldCover 2021 (CC BY 4.0, Copernicus Sentinel data), via Microsoft Planetary Computer
Water
© OpenStreetMap contributors (ODbL), via OpenFreeMap