 Ride maps
Ride Map Designer · Guide
How to make a ride map
Pick a ride, shape it, colour it, download the file and print it. Five steps, top to bottom.
Getting started
- The steps are on the left, the 3D preview on the right (below on a phone). Every change rebuilds the preview in a few seconds; trees and water follow a little later.
- Each step folds away: tap its heading. A folded step still shows what's chosen. The sliders most people leave alone sit under small Adjust and Widths toggles.
- Your design saves in this browser as you go.
1 Ride
- Pick a ride from the list (the rides on the adventure map), or upload a GPX. An upload stays in your browser; Hide start and end trims each end so a ride from home doesn't show the house.
- Add another ride for a trip over several days: each ride's trail goes on the same map, in one colour or a colour each (step 3).
2 Shape and size
- Layout: One map puts the whole ride on one print. Honeycomb spreads it over small hex tiles (below).
- Shape and size (one map): hexagon, circle or square, 2.5 to 6 in across. Hexagons and squares can join on a wall; circles can't.
- Height: Auto raises the hills so a gentle ride still reads. Untick it to set the height yourself.
- Turn and move: turn the map in 15° steps; Move on the preview lets you drag the map under the outline. Reset puts it back.
- Units: inches or metric, for every size on the page.
The honeycomb
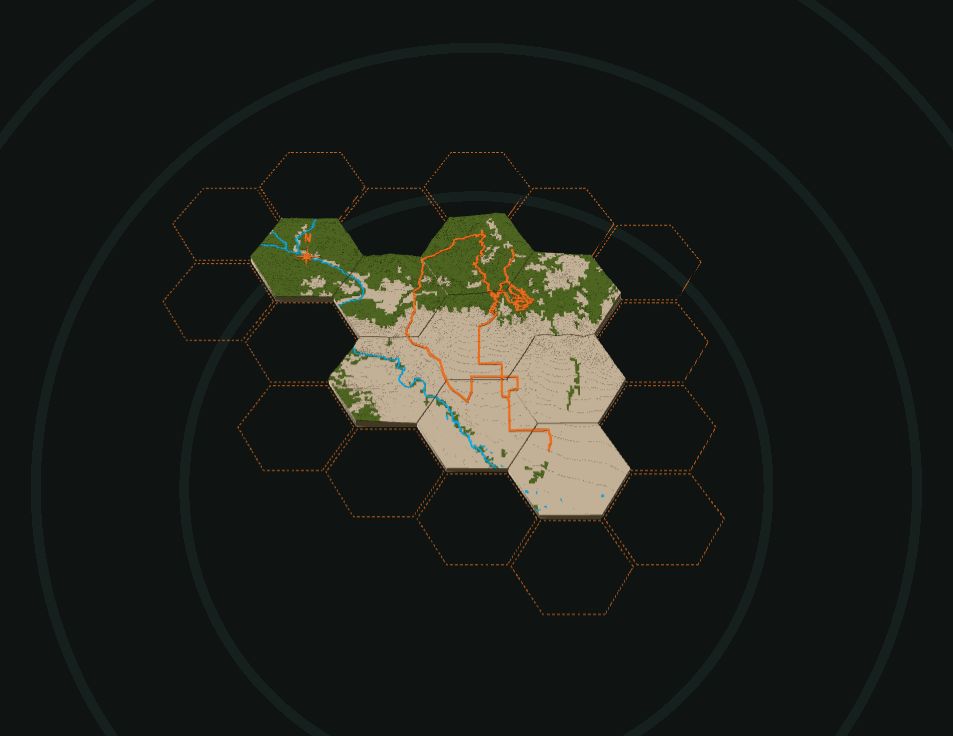
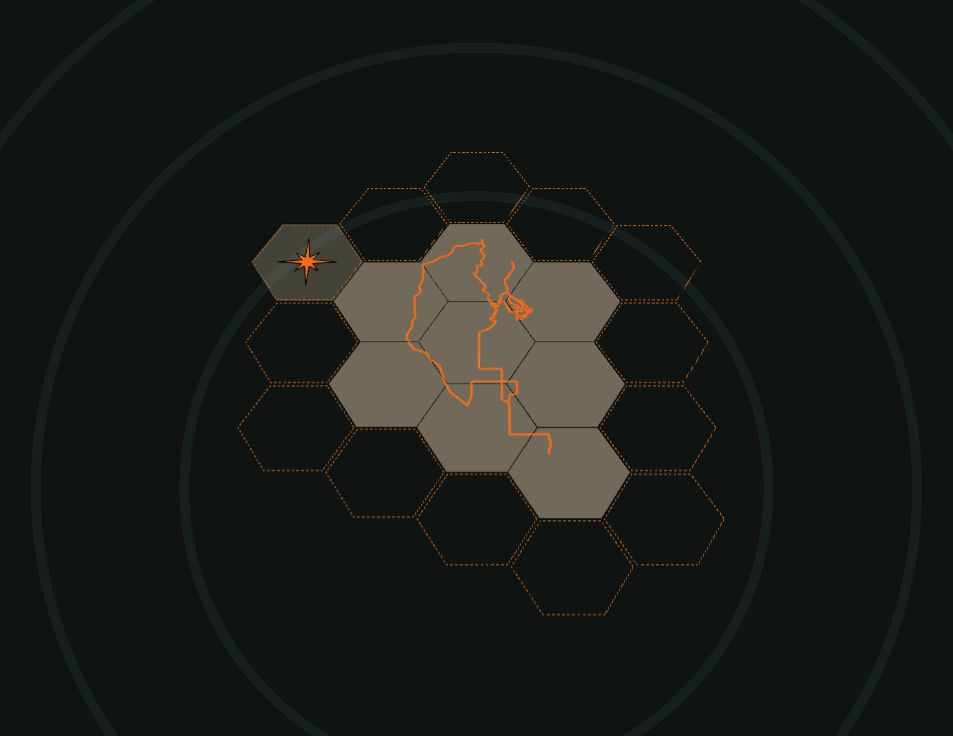
- Tile size (2 to 6 in) and Route length (how many tiles long the ride is) set the scale. The tiles go where the trail runs.
- Add a tile: click (or tap) a dashed hex; it lights up under the mouse. Take one off: right-click it, or long-press it on a phone.
- Fit the trail to the tiles opens a light, flat view where the tiles stay put and the map moves under them:
- drag to slide the map; pinch, scroll or use Zoom to scale it (the arrow keys and + − work too);
- Best fit slides it to keep the trail off the tiles' corners and edges, where it would be cut into slivers;
- add and take off tiles here too;
- drag the compass rose onto a tile, or onto an empty hex beside one for a tile of its own, and set its size;
- Done keeps it all and rebuilds; Cancel puts everything back.
- Print as: a print per tile, or bed-size pieces (neighbouring tiles printed together, as big as your bed allows). Pick your printer bed: 180 mm (A1 mini), 256 mm (X1, P1, A1), 350 mm (H2D).
- Every tile has bowtie pockets on the edges it shares, its position (A1, B2…) engraved on the back, and keyholes on the top tiles at the far left and right.
3 Colours and texture
- Print separately: tick the trail, rivers and lakes or the compass rose to print it on its own, in its own colour, to press into a recess. It then doesn't use one of the map's 4 colours. On a honeycomb the trail runs across the tiles in as few pieces as your bed allows.
- Border: a frame with the ride's name, date, miles and climb raised on it, or a shell the map nests into. On a honeycomb, a band round all the tiles, cut to fit your bed. Each is its own print.
- 1 colour or 4 colours on the map, one per AMS slot.
- The colours: pick a filament for the terrain and the trail, and turn on trees, water, high ground or snow. Jobs can share a colour. Creeks sets how many small streams show.
- Surface: Contours (a flat step every 100 ft by default, like a contour model) or Smooth. Detail goes from smooth to craggy.
4 Extras
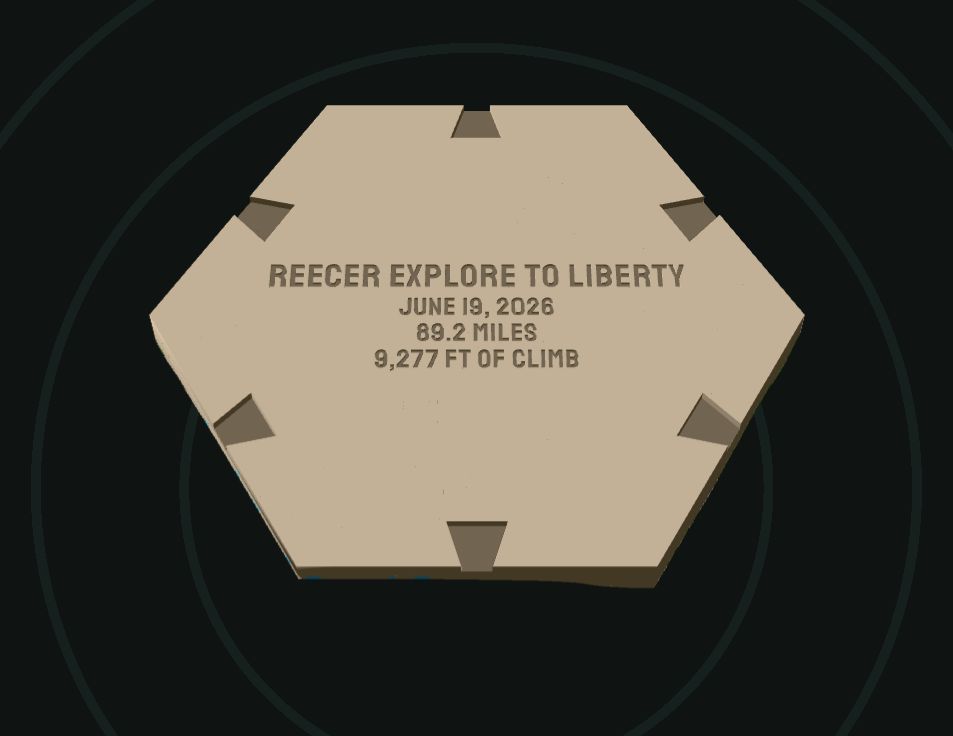
- Wall joints: a bowtie pocket 2 mm deep on each edge of the back, and keys in the files, so maps of the same size hang as one.
- Keyhole: on the back near the top, for a nail or screw with a head up to 9 mm.
- Compass rose: a star pointing north, set in like the trail. On one map it stays clear of the trail (or move it round with the slider); on a honeycomb, Place it opens Fit the trail.
- Ride info: the name, date, distance and climb, filled in from the ride; edit any line or clear it. Tick Engrave it on the back to cut it in. See the back turns the preview over.
5 Download
- The print estimate shows the filament, colour changes, purge and time first.
- Bambu 3MF: opens in Bambu Studio or OrcaSlicer with a plate per print, named: the map or each tile, the trail piece, the frame, the keys. The filaments are numbered for the AMS slots.
- STL: the map alone in one colour, the trail raised and the water lower, for any printer.
The 3D view
- Drag to turn it, scroll or pinch to zoom, double-click (or double-tap) to reset.
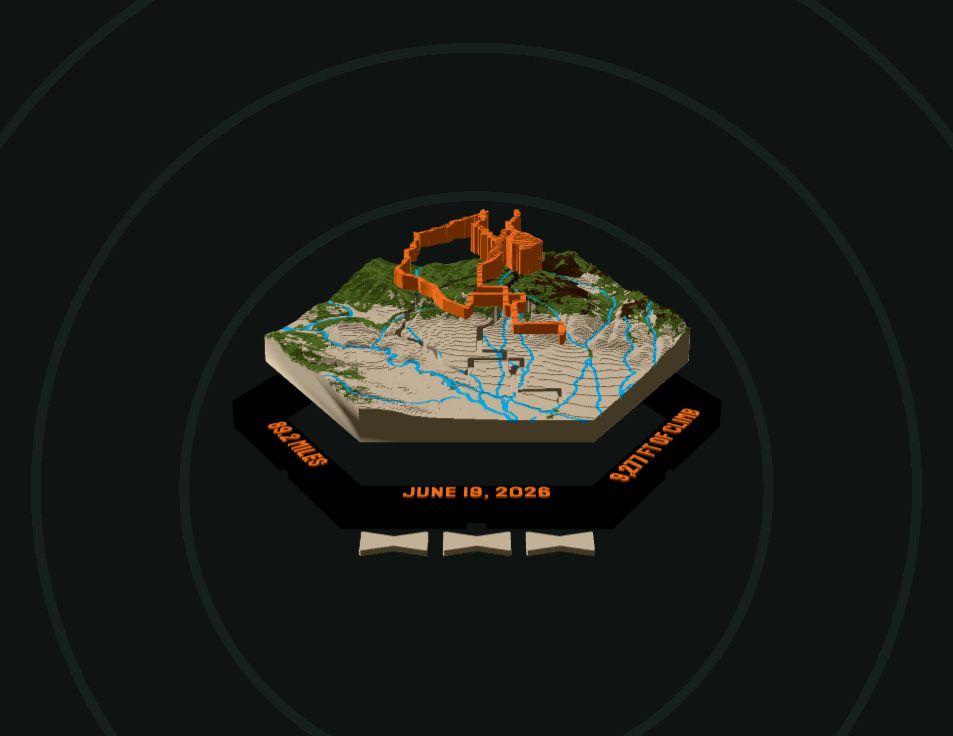
- Front / Back turns the map over. Exploded pulls the prints apart. Satellite drapes the aerial view over the map to compare.
Printing and putting it together
- PLA at 0.2 mm layers, flat side down, one plate at a time.
- Trail or water piece: press it into its recess (0.15 mm clearance a side). A drop of glue if it's loose.
- Frame, shell or honeycomb border: the map drops in from the front onto a ledge at the back; glue it. A honeycomb's border pieces lock together with a dovetail at each cut; slide each tab down into its socket, a drop of glue if it's loose.
- Bowtie keys: tap one into each pair of pockets where two maps or tiles meet.
Tips
- The trail runs off the map: press Move and drag it back, or make the map bigger. On a honeycomb, add a tile or use Fit the trail.
- Too many colour changes: share colours between jobs, turn off trees or snow, or print the trail on its own.
- A long ride: try the honeycomb, or add the days of a trip to one map.
- Questions or a ride that won't load: matt@quiverdesignworks.net.